My latest work has been tying a bunch of piggin string to sell. Each of these is tied with the standard 550 paracord. I used nearly 50 feet of cord for each string. I started with a four strand round braid, created a loop, then continued an 8 strand round braid for a short length. I tapered off this 8 strand round braid to continue on with a 4 strand round braid. The total length of the piggin string is 6.5 feet. I finished it off with a square sinnet and a four strand diamond stopper knot. This wasn't a very difficult project, it just takes a bit of time. If I guessed I would say each of these takes about an hour.
Howdy, this is a blog where I try to incorporate my hobby of using paracord into western tack and other useful projects. I use this blog to provide pictures and descriptions of my work in order to show and educate others who enjoy this craft. Even thought I enjoy tying all kinds of knots, this blog is dedicated to tying and creating actual useful items. I get most of my inspiration from my grandpa, Ashley Book of Knots, things around Pinterest, and Stormdrane.
Tuesday, November 25, 2014
Friday, October 31, 2014
Latest Projects
Here is an update on some small projects that I've been working on.
First is wrap around my cell phone charger and the inverter for my truck. The cord is done with a four strand round braid plaited around the cord. The inverter is covered in a 7X6 Turk's Head Knot with a Goucho Interweave.
The next is a couple of knots that I tied to put on a couple of dog leashes. They are both Turk's Head Knots with Herringbone Interweaves.
The last project is a keeper like I have done before, except I used a Spanish Ring Knot to help cinch up the loop.
Monday, October 20, 2014
More Halters
For the past two weeks or so I have been working on making more halter of all different colors. This is the same style of halter that I previously posted, only difference is the colors.
Again I used 4 & 8 strand round braids, Spanish Ring knots, and Crown knots.
Here are some pictures, hope you like it:
Again I used 4 & 8 strand round braids, Spanish Ring knots, and Crown knots.
Here are some pictures, hope you like it:
Monday, September 15, 2014
Newest Lead Rope for Halter
This weekend I finished another lead rope for the next halter. This one was done just like the last except for the finish. I used a 4 strand round braid to make a loop into an 8 strand round braid. I braided the lead rope for about 8 feet. Then I finished it with a 4 strand diamond knot which I then doubled with the remaining 4 strands.
The color of paracord I used has a special name, but I can't remember it. It is lime greenish with a black camo breakup. The total length of cordage used is about 115 feet of 550 paracord.
Friday, September 5, 2014
Halter for Horse Part 2
So here is a project I completed a couple of weeks ago. I didn't have time to take pictures of it in my shop, but I did go out one evening and get pictures of it on the horse. I think this make it look better and actually show its useful purpose. I used only 8 strand braids and 4 strand braids. It took about 200' of paracord. The paracord I used was some kind of blue camo with a reflective tracer. In the future I am going to try to make several of these halters and sell them. I used a couple of Spanish ring knots and a Turks head knot to connect some of the braid as well as make it aesthetically appealing. This project was very similar to the neck rope I made, only more advanced with the complexity.
Tuesday, September 2, 2014
Neck Rope
The latest project I finished is a neck rope for my brother. I used regular 550 paracord that was blue camo with a reflective tracer added. This was a very simple project which started with a four strand round braid. I then looped this braid and used the eight strand to make an 8 strand round braid. I worked this for a total length of 3 feet. I ended the braid with a 4 strand diamond stopper know, which I double using the remaining 4 strand.
I added some Turk's Head knots in order to keep the rope in place while being used. I tied two 3X5 Turks Heads towards the end of the neck rope. I also tied a 5X4 Turks head close the the loop to serve as a tightening mechanism to keep the loop from sliding around.
Monday, August 4, 2014
Halter Part 1
So my next big project that I'm currently working on is a horse halter for my brother. He chose the type of paracord which is a blue camo with a reflective tracer braided through it. The reflective tracer actually works and is pretty cool in the night.
Part 1 of this project entails the lead rope portion of the halter. I started with a four strand round braid and worked it about 2.5 inches long. Then I folded it back on itself and continued the length of the lead rope with an 8 strand round braid. Without a core this part ends up working itself into a square/rectangular shape which is pretty cool.
I braided the rope about 7 feet or so until I got to where I wanted to end this part. So next I split the 8 strand round braid into two 4 strand round braids. With each of these 4 strand round braids I tied a diamond stopper knot with two cords, then took the other two cords and doubled it.
In the end it came out real nice, and I will continue to follow this type of process for the main part of the halter.
Thursday, July 24, 2014
Key Chain
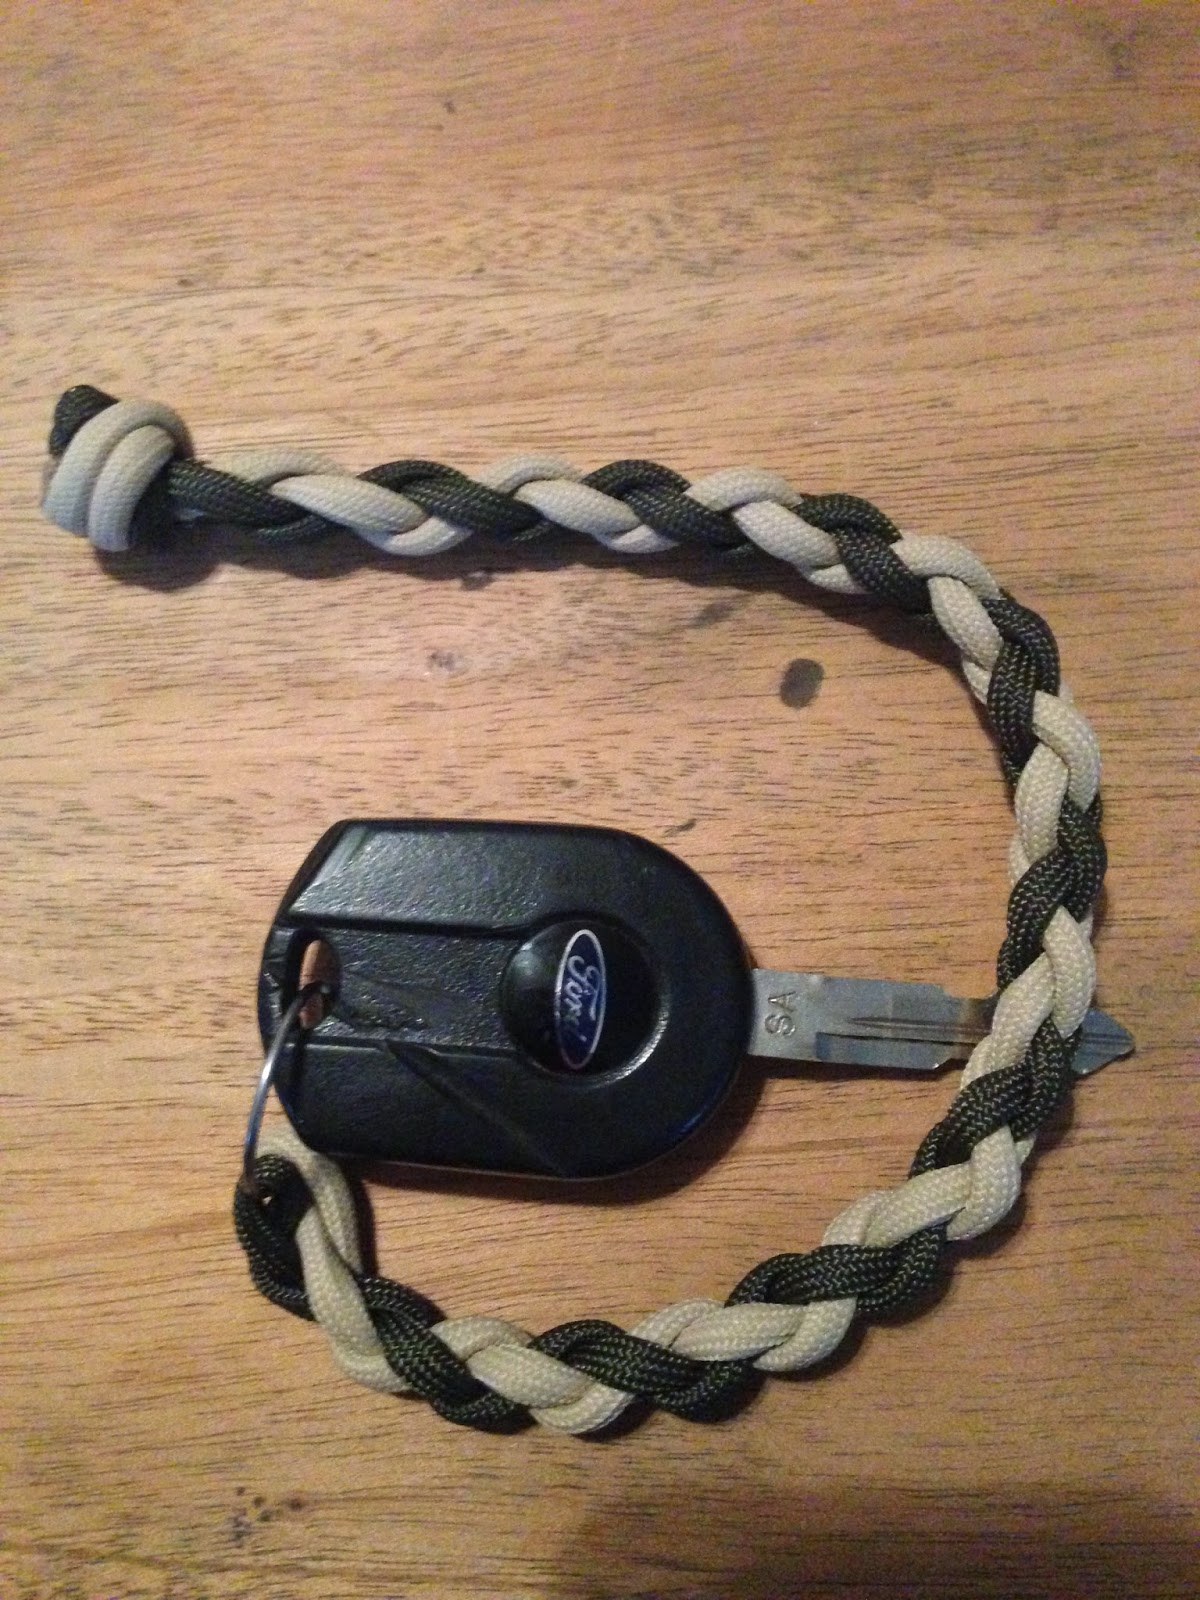
I previously tied a 4-strand round braid key chain for my younger brother, and after a couple months he ran it over with the lawnmower. The keys survived but the paracord took a hit. So I retied another one for him. The colors are olive drab and tan. I ended the 4-strand round braid with a Matthew Walker knot. This knot isn't easy, but when done right, it looks awesome. Overall this was a very easy project, and took about 15 mins to complete. I used about 4 foot of each color of paracord.
Friday, May 9, 2014
Finished Horn Knot
Here is what a finished horn knot looks like when tied onto the saddle horn. I did this for my brother before a big ropin' of his. I'm sure he will get a couple inquires about it.
The paracord used is called Viper, and was bought from Supply Captain.
The size I used in the final knot was 8 high and 7 wide.
The unfinished knot at the bottom right was tied around my hand, and then took out about 3 high when I got ready to put it on the saddle horn.
The paracord used is called Viper, and was bought from Supply Captain.
The size I used in the final knot was 8 high and 7 wide.
The unfinished knot at the bottom right was tied around my hand, and then took out about 3 high when I got ready to put it on the saddle horn.
Thursday, May 1, 2014
Flashlight Shape Up
I had a couple of flashlights hanging around so I decided to spruce them up a bit.
The red Maglite has a long 4 bight Turk's Head coupled with two Spanish Ring knots. You can see how to make both of them here (credit: Stormdrane) and here respectively.
The silver flashlight is one I had in my desk that a manufactures rep gave me. The blue knot is a 7X6 doubled Turks Head knot coupled again by two white Spanish Ring knots. The loop was done with a diamond stopper knot in the middle and two white 3X4 Turks heads on the either side.
Tuesday, April 29, 2014
Knots on a Broom Handle
Here's some more knots I've tied from Tom Hall's Turk's-Head Knot Tips.
I've posted a couple of these earlier, but they look 100x better after being tightened down.
The ones with the gaucho interweave will make great horn knots, and is probably how I will tie them from now often. Only because it looks cleaner and won't stretch when pulled apart. Even though the other way to tie a horn knot isn't pulled apart rather pushed together, it still kinda bothers me.
Each one of these can be tied with two colors (ex: the second one), but the top and bottom one are done with one continuous strand. I prefer it that way, unless requested otherwise, because it provides less ends to be cut and melted when you are done tying.
From top to bottom on the mandrel (old broom handle):
5X6 Casa with Gaucho Interweave
7X6 Casa with Gaucho Interweave
7X6 Casa with Pineapple Interweave
Random Turk's Head Knots
7X6 Casa with Pineapple Interweave |
I've been looking through some old books that I have and one that I use a lot is Tom Hall's Turk's-Head Knot Tips. This has many many knots that are both useful, really cool to look at, and a good puzzle to tie.
The colors I have used don't really go together, but it's the only extra cord I had lying around at the time.
Here are some of the ones I have tied from the book:
7X6 Casa with Herringbone Interweave |
9X5 Casa with Herringbone Interweave |
4X3 Casa with Herringbone Interweave |
9X5 Casa with Gaucho Interweave |
Thursday, April 24, 2014
Keepers
My brother had a problem with finding a good quality keeper to pass his rope through. We came up with a few of different ideas on how it should be made. First was using a 6 strand round braid and making two 3 strand braids that split and come back together to form a hole. It would have worked, but it turned too thick for our purpose. So I settled with a four strand round braid and made the hole by twisting the two ropes together to form a loop.
The last one uses the six strand round braid but I used some leftover microcord, and it satisfied the thickness and look I was originally going for.
Wednesday, April 23, 2014
Key Chain Lanyard with Buckle
A guy the other day wanted a lanyard that he could attach his keys to but also detach they key when getting ready to start his car. I had seen similar things around the internet that used a buckle at the end of the lanyard for this very reason. The lanyard is done with a four strand round braid of alternating colors and then spliced back on itself closer to the buckle. The bottom is done with a simple solomon braid knot. The colors used are white and caribbean blue.